|
Well, now you’ve gone and done it. You have purchased a stand that requires setup and adjustment. In a complex world you have enabled me in my attempt to make things even more complicated. Don’t worry. I won’t leave you (or your bike) hanging. Here’s how it’s done, the PegLift way.
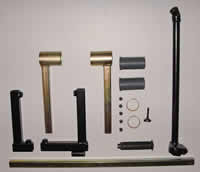
First thing, unpack your PegLift and lay out the parts. Definitions are in order. The components list is as follows: Grip (screws into the handle and can be removed if needed once the bike is up. I store the ¼” allen in the end.) Handle (includes the adjustable foot) Crossbar (the longest tube in the box) Fixed Support (“L” shaped support that has the welded round foot on the bottom) Sliding Support (or “slider” similar to Fixed but has a shorter base tube without the foot) Peg Upright (the 2 tubes that encase the footpeg inserts) Peg Insert (the plastic device that encapsulates the footpeg and protects your bike from directly contacting the metal stand) Set Screws (1/2” x 20 set screws used to secure the PL components in place)
It may be wise to have a friend give you a hand (in case you need help stabilizing the bike) while you are familiarizing yourself with the PegLift install procedure. |
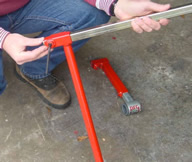 |
Attach the handle to the crossbar as shown with the end flush and secure the screw |
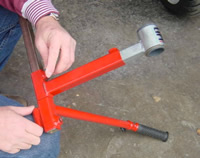 |
Install and secure the peg supports all the way down and facing in (towards the set screws). Position the sliding support against the handle as shown and secure in place |
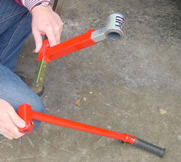 |
For now, remove the handle and set it aside |
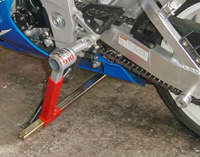 |
Slide the assembly under the bike from the throttle side and position near the clutch side footpeg |
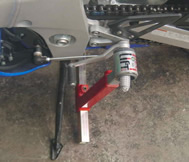 |
Pull the crossbar toward you to capture the peg |
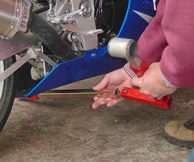 |
Slide the fixed support onto the crossbar |
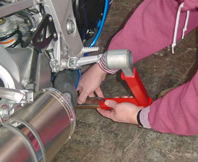 |
While pulling the crossbar toward you (to keep the far peg fully enclosed), position the peg bushing ½” from the near peg and secure the fixed support in place |
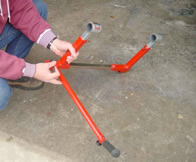 |
Remove the stand from the bike, re-install the handle as shown and secure in place |
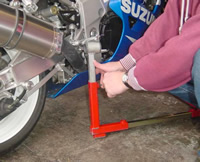 |
With the bike resting on the sidestand, position the fixed support under the throttle side peg and adjust the height of the peg upright as shown, coming to rest just under the footpeg |
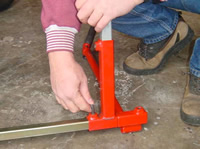 |
Loosen the sliding support and move it over to the fixed support |
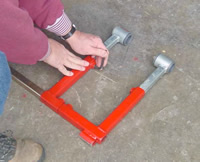 |
Adjust the peg upright to match the one in the fixed support |
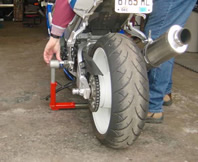 |
Open the stand up by pulling the sliding support against the handle. Hold the bike level, controlling it against your body and place the stand under the bike. Position the far side peg insert over the end of the peg. |
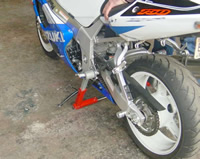 |
Pull the stand toward you until the far side peg is fully captured |
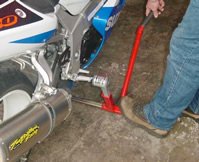 |
While holding the bike level, align the sliding support to center the peg support over the peg. Step on the end of the crossbar to secure the base from moving. |
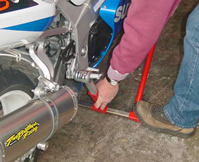 |
Move the sliding support over the peg and secure in place with a light turn of the setscrew. |
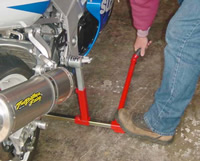 |
Press down on the handle and bring the bike up onto the stand. This can be done one of several ways. Hold the seat while pressing down with your right hand, or place your right foot on the handle and press down while controlling the descent of the handle by applying the front brake. |
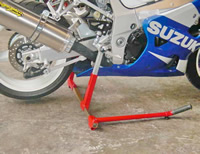 |
When the bike comes to rest on the stand, the rear tire should be about 1” off the floor. Since the PegLift is fully adjustable you can make changes to the height by altering the peg uprights before placing the bike on the stand. I would advise having a target of 1” or less to make the stand easier to install and the bike more stable once it’s up. |
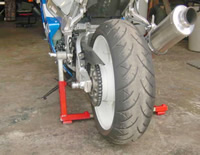 |
When properly fitted, you will be amazed how stable and secure your bike is. If you wish to lift the front end, simply place a small floor jack under the front portion of the motor and lift while the bike pivots on the PegLift. |

